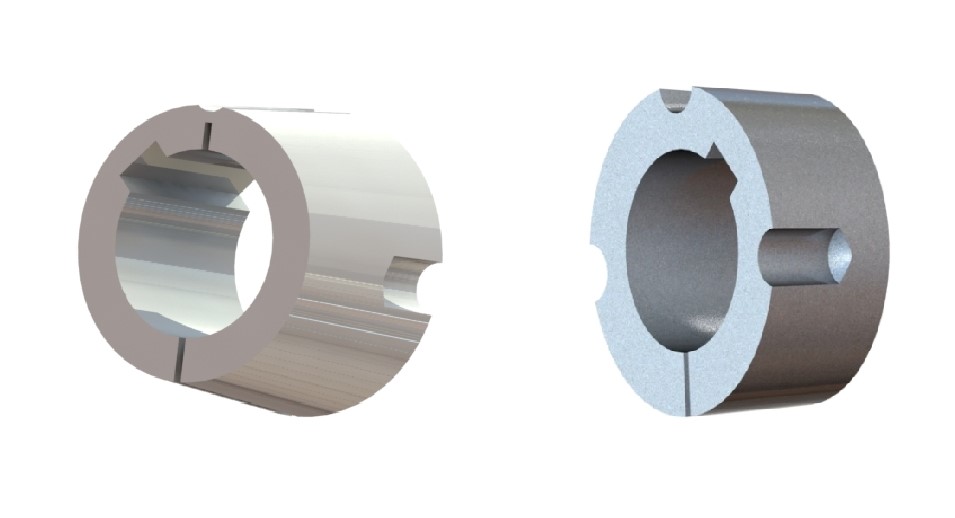
INSTRUCTIONS FOR MOUNTING AND REMOVING THE BUSH
INSTRUCTIONS FOR MOUNTING AND REMOVING THE BUSH
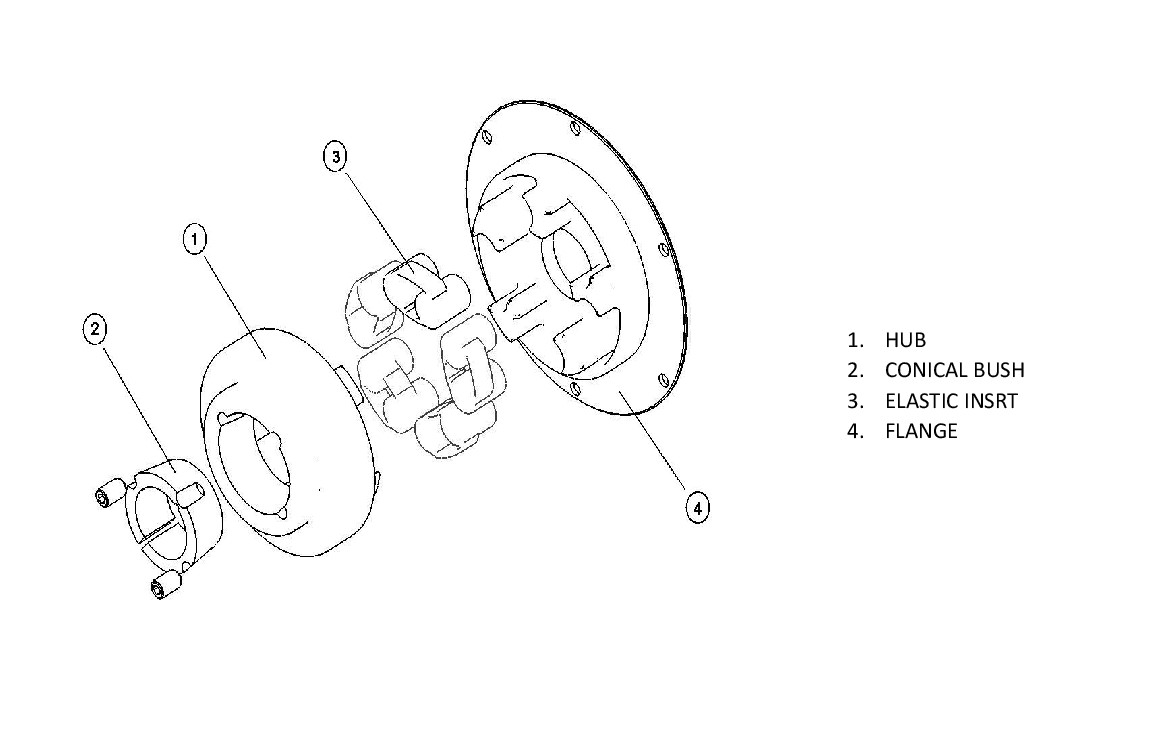
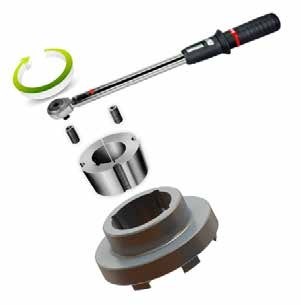
MOUNTING
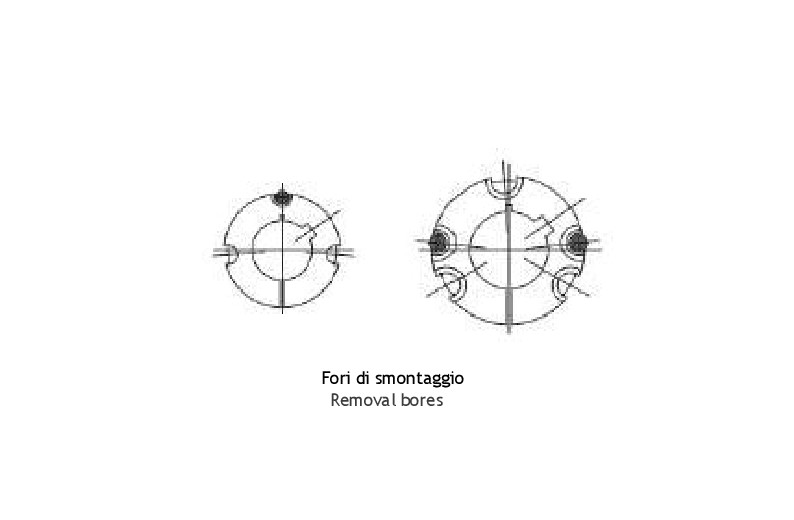
REMOVAL
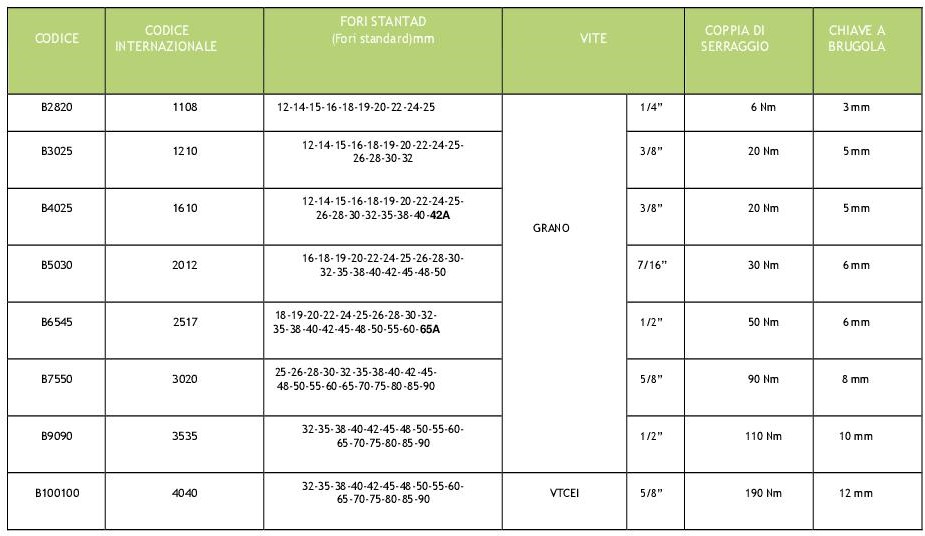
Upon request available on Inch dimensions and on special dimensions
Features and dimensions can be subjected to change without notice
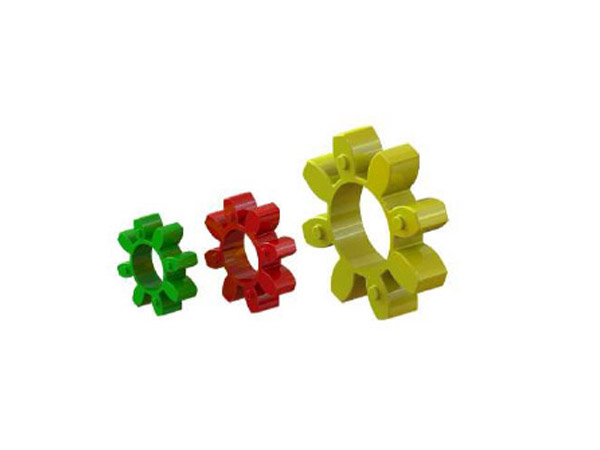
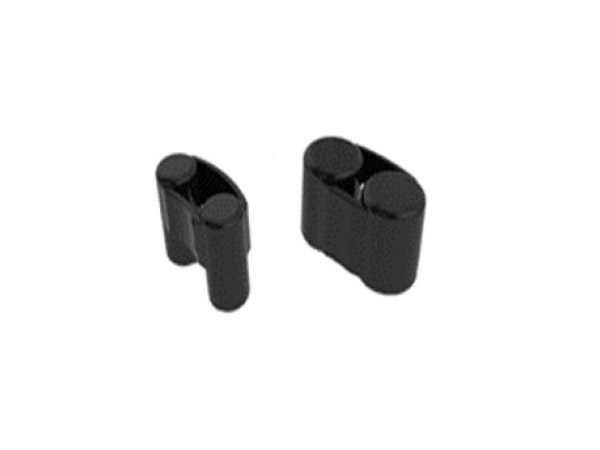
FOTOGALLERY


Criteria and recommendations for choosing the joint based on the application.
PRODUCTS IN THE SAME CATEGORY
Monday - Friday ì
Saturday and Sunday